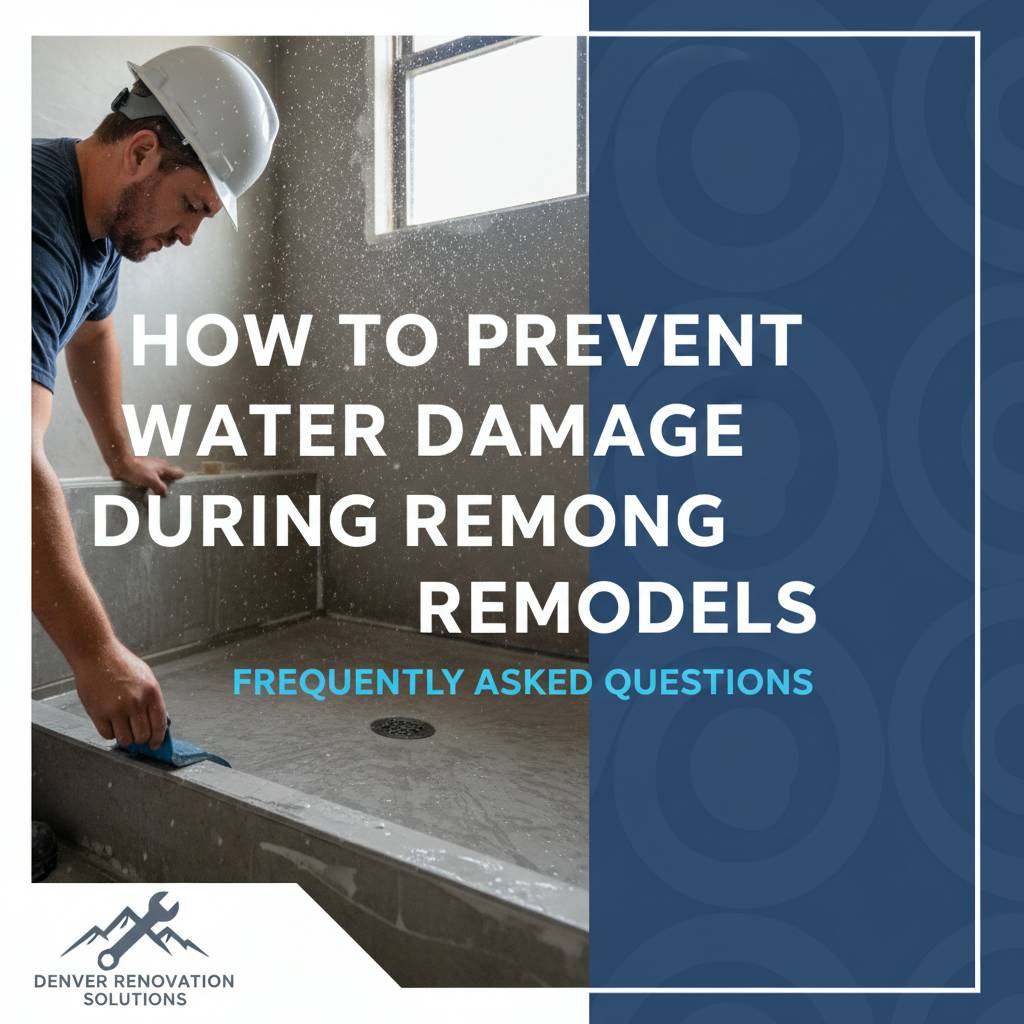
How To Prevent Water Damage During Remodels
Preventing water damage during remodels requires planning and protective measures, and Riley Riley Construction outlines best practices to shield exposed areas. We recommend sequencing, temporary barriers, and moisture monitoring to avoid unintended damage. Contact Riley Riley Construction at 17209155352 for a site-specific prevention plan that maintains structural integrity throughout work. Proactive measures save time and reduce repair costs after completion.
Why proactive water-damage prevention matters
Renovations expose building components-framing, insulation, subfloors, and finished surfaces-to new risks. Even a short period of exposure to moisture can lead to mildew, mold, wood rot, and corrosion of metal fasteners. These issues not only increase repair scope and cost but can also create unhealthy indoor air quality for occupants. Understanding how to prevent water damage during remodels is the first step to protecting both investment and health.
Beyond immediate material loss, hidden moisture problems can undermine warranty coverage, delay final inspections, and push a project over schedule. Projects that incorporate water-damage prevention up front typically close faster and with fewer change orders. When Riley Riley Construction assesses a site, we prioritize solutions that are simple to implement yet durable-for example, temporary drainage paths and moisture-tolerant staging areas-to minimize the chance of costly setbacks.
Planning and sequencing to reduce exposure
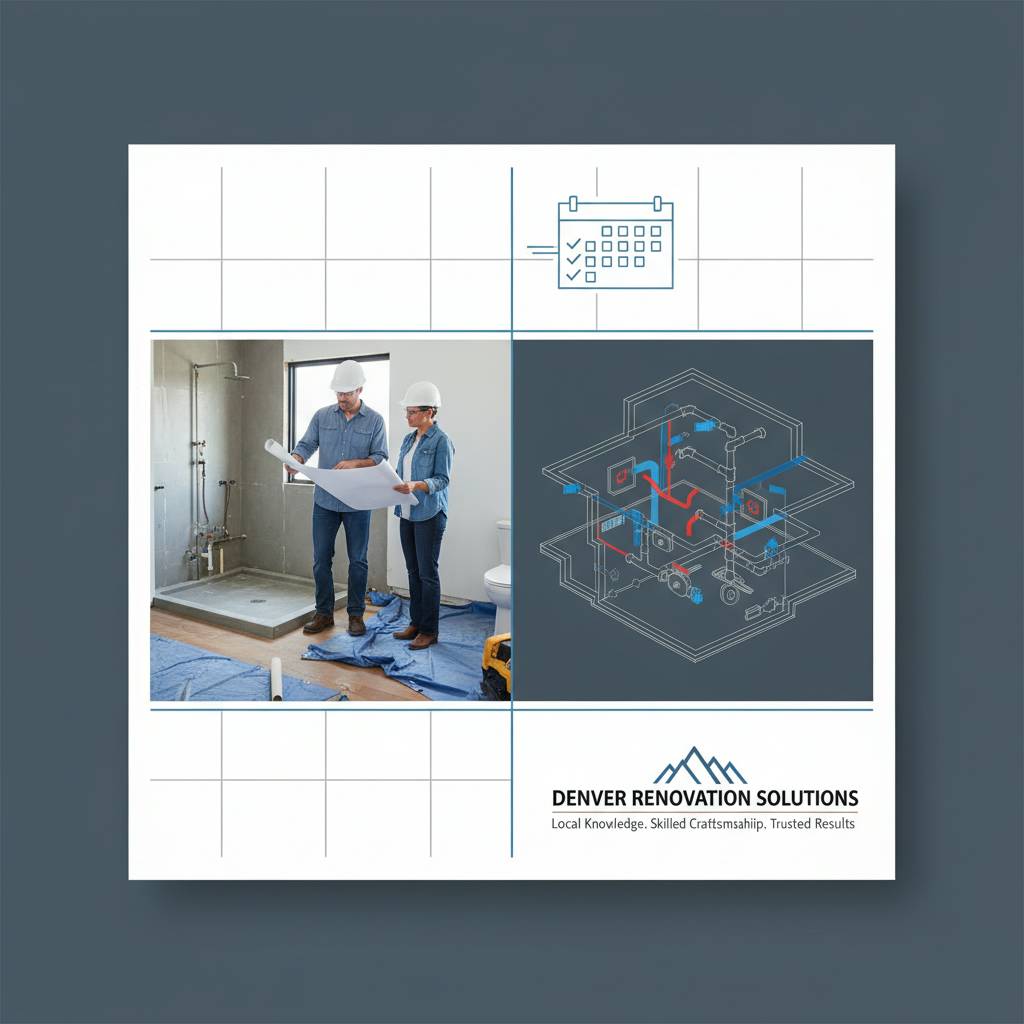 Good planning dictates the order of operations so that vulnerable elements are either protected or installed late in the sequence. For instance, schedule rough plumbing and roofing early, but delay finish carpentry, trim, and final flooring until after exterior work and weather-exposed trades are complete. Sequencing minimizes the number of times finished surfaces are exposed to potential water sources.
Include contingency steps in the schedule for unexpected weather or delivery delays. A well-structured schedule should identify at-risk periods when interior areas may be open to the elements and assign responsibility for protective measures during those windows. Communication with all subcontractors is essential so everyone understands when a space becomes protected, and when it must be re-protected after a trade has completed its work.
Temporary barriers, containment, and site protection
Temporary barriers are the frontline defense against moisture intrusion during a remodel. Depending on the project size and scope, deploy a combination of physical seals, interior containment, and controlled access to limit how and where water can enter. Effective containment reduces cleanup time and prevents cross-contamination between wet and dry zones.
Common temporary solutions
- Polyethylene sheeting and taped seams to seal openings around windows, doors, and exterior penetrations.
- Zip walls or framed dust barriers with magnetic zippers to create negative-pressure work areas for controlled drying and to prevent dust and moisture migration.
- Temporary roofing and tarp systems with proper flashing to route water away from newly exposed roof decks.
- Raised staging platforms and pallets to keep materials dry and off potentially wet subfloors.
For exterior work, ensure temporary drainage is directed away from the foundation. Install temporary gutters or downspout extensions on a tarp-covered roof or use portable trenching to divert runoff. On interior projects where walls are opened, seal HVAC registers and protect ductwork to prevent humid air movement into assemblies that could condense and cause damage.
Moisture management and continuous monitoring
Monitoring moisture during a remodel is essential; visual inspection alone is not enough. Use reliable tools like hygrometers, non-invasive moisture meters, and thermal imaging to detect elevated moisture levels before they become problems. Establish baseline readings and document progress-if readings spike, stop work in the affected area and address the source immediately.
Practical monitoring steps
- Measure relative humidity and temperature daily in enclosed spaces to track dew point and condensation risk.
- Use pin or pinless moisture meters on framing, subfloor, and finished surfaces before covering them up.
- Implement a simple log that records readings, time, weather conditions, and any corrective actions taken.
When drying is required, choose the right equipment and balance between speed and material compatibility. High-output dehumidifiers and directed airflow speeds up drying but excessive heat or air velocity can warp wood or delaminate adhesives. Riley Riley Construction recommends calibrating drying equipment to manufacturer guidelines and monitoring moisture reduction progress to avoid over-drying or uneven drying that creates new issues.
Protecting assemblies and sensitive materials
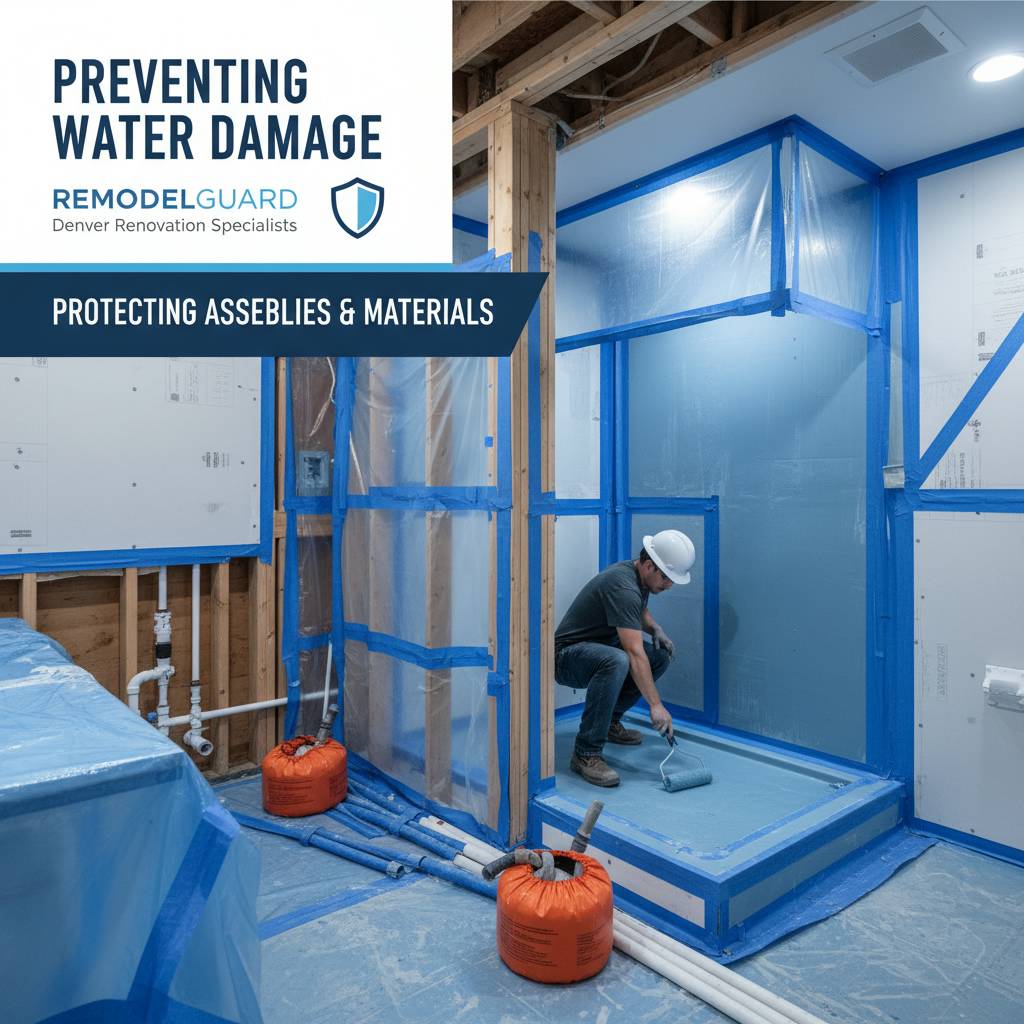 Different materials have different vulnerabilities. Wood framing and particleboard swell when wet; gypsum board loses strength; and many floor coverings are ruined by even brief water exposure. Protect these materials both before and during installation to prevent damage that will require costly replacement.
Key protection measures include using water-resistant backer board in wet areas, sealing exposed end grain with appropriate sealers, and storing finish materials in climate-controlled conditions. For flooring, keep rolls and cartons elevated, and install moisture barriers (e.g., underlayment or vapor retarders) when sequencing calls for floor work before final exterior closure.
When demolition exposes wall cavities, replace or temporarily seal vapor barriers as needed to maintain building envelope performance. If insulation gets wet, plan to remove and replace affected sections-wet insulation loses thermal performance and encourages mold growth.
Utility and systems coordination
Protecting plumbing, HVAC, and electrical systems during a remodel requires coordination and foresight. Turn off water to affected areas when possible and make temporary shutoffs accessible. Where shutoffs are impractical, use secondary containment like bucket drains or temporary hoses that channel leaks to safe locations.
Coordinate HVAC work so ducts are sealed or temporarily isolated to prevent humid outside air from entering conditioned spaces. Ensure electrical work does not leave junction boxes open to moisture; a simple plastic bag or taped cover can prevent water ingress if a job must pause during wet weather. Regularly inspect temporary utility protections throughout the project lifecycle-what was secure on day one is often disturbed by subsequent trades.
Common problem areas and targeted solutions
Some locations consistently present higher risk during remodels: roof edges, window and door openings, basement penetrations, and bathroom/kitchen plumbing rough-ins. Address these areas with tailored strategies rather than one-size-fits-all tactics.
- Roof edges: Use temporary drip edges and ensure tarps are fastened and overlapped toward the eaves to shed water.
- Window/door openings: Install weather-resistant barrier strips and temporary sill pans; store newly installed windows covered until exterior cladding is complete.
- Basement penetrations: Keep site grading and temporary drainage away from foundation walls; use sump pumps when necessary and monitor pit operation daily.
- Kitchen/bath plumbing: Pressure-test lines before covering and provide drip trays beneath fixtures during adjacent demo work.
Addressing these hotspots proactively reduces the need for rework. Small investments in temporary protection-sealants, pans, or temporary flashings-pay off by preserving materials and avoiding mold remediation costs.
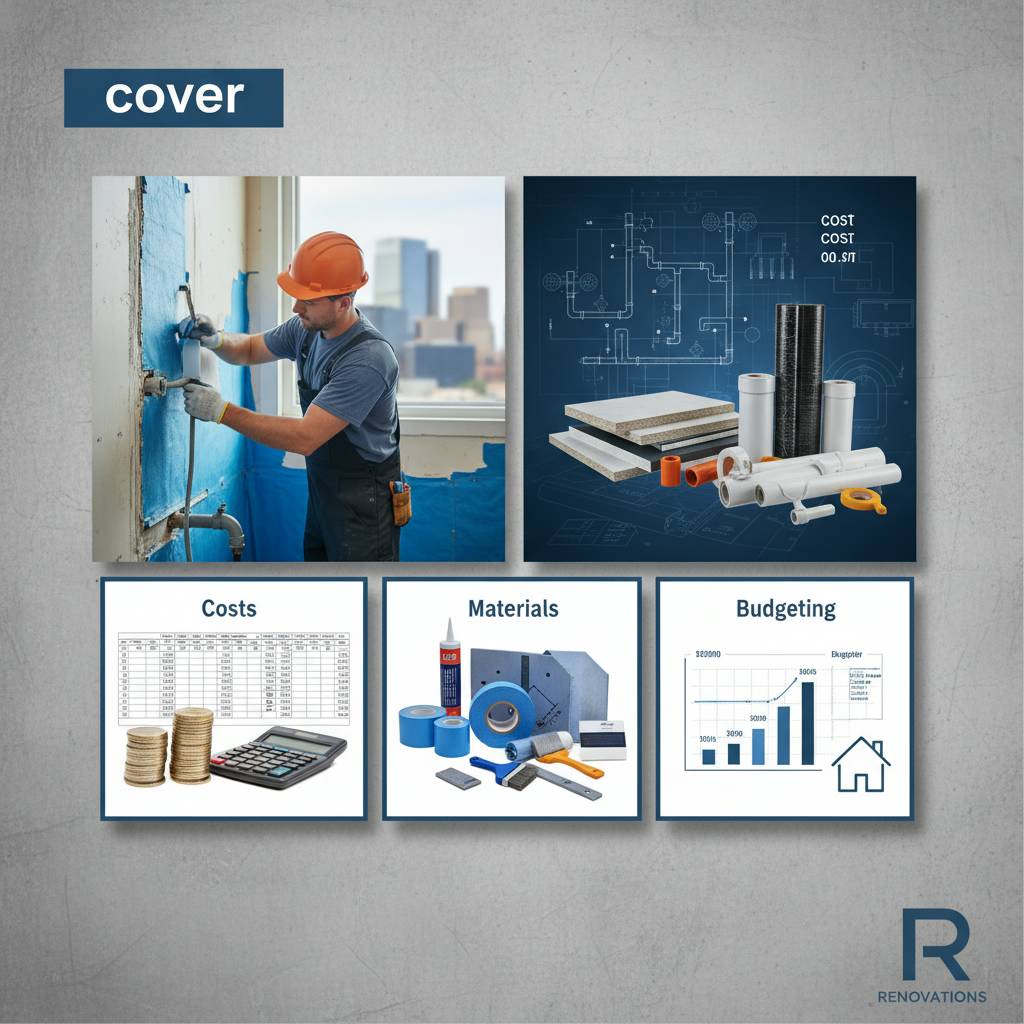
Costs, materials, and realistic budgeting
Including water-damage prevention in your budget is prudent. Line items may include temporary barriers, weatherproof tarps, jobsite dehumidifiers, moisture meters, and labor for installation and monitoring. While costs vary by project size, consider these typical price ranges when estimating:
| Item | Typical range |
|---|---|
| Poly sheeting and tape for containment | $75-$200 |
| Portable dehumidifier rental (per week) | $100-$300 |
| Temporary roofing/tarp systems | $150-$1,000 |
| Professional moisture assessment | $150-$500 |
Budget for inspection and monitoring time as well-these are not set it and forget it measures. Regular oversight reduces the chance that a small leak becomes a major remediation task. Many property owners find that spending modestly on prevention saves multiples of that cost in avoided repairs and schedule disruptions.
Case example: modest remodel with major savings
A mid-sized kitchen remodel left the contractor with an exposed roof valley during an unexpected rainstorm. Because temporary roof diversion and drip pans were in place, runoff bypassed the open valley and no interior finishes were damaged. Early detection via daily moisture logs revealed a single wet joist; the team dried and treated the area before replacing a small section of insulation. The cost of the temporary measures was under $500, while replacement of kitchen cabinets, flooring, and mold remediation would have exceeded $15,000. This outcome highlights how planning, barriers, and monitoring work together to protect value.
Simple checklist to implement on your next project
- Create a moisture risk map showing when assemblies will be exposed during the schedule.
- Establish temporary drainage and roofing protections before exterior demo begins.
- Seal and protect openings with poly sheeting and framed barriers; keep materials elevated.
- Deploy monitoring tools (hygrometer and moisture meter) and record daily readings.
- Coordinate temporary shutoffs and secondary containment for plumbing and HVAC systems.
- Plan for removal and replacement of wet insulation or other compromised materials.
- Education: brief all trades on protection measures and who is responsible when conditions change.
Frequently asked questions
How long after exposure should materials be dried?
Drying time depends on material and conditions. Wood framing may need several days with dehumidification and airflow to reach safe moisture levels, while surface dampness on non-porous materials can evaporate in hours. Use moisture meter readings to confirm safe thresholds before closing up assemblies.
Can I rely on visual checks alone?
Visual checks miss hidden moisture. A small stain or patch of damp paperboard may indicate deeper saturation. Use tools and logs to catch issues early and avoid surprises when finishes are installed.
When should I call a professional?
If moisture readings are elevated and you can't trace or control the source, if mold is visible, or if you are unsure about proper drying equipment and procedures, call a remediation or construction professional. Riley Riley Construction can provide a site-specific plan that minimizes disruption and protects finishes and structure.
Closing and next steps
Preventing water damage during remodels is a combination of foresight, practical protection, disciplined monitoring, and clear coordination among trades. Whether you are planning a small bathroom update or a full-scale renovation, investing in temporary barriers, sensible sequencing, and moisture monitoring reduces the likelihood of costly rework and health-related problems.
For a tailored prevention plan that fits your project scope and budget, contact Riley Riley Construction. Our team can evaluate your site, recommend materials and sequencing strategies, and provide a monitoring protocol that keeps your remodel on track. Call us today at 17209155352 to schedule an assessment and get practical guidance before demolition begins.