Common Renovation Mistakes To Avoid
Avoiding common renovation mistakes protects budgets and timelines, and Riley Riley Construction shares proven prevention strategies based on real projects. We highlight scope creep, poor contractor vetting, and material mismatches that commonly derail results. Call Riley Riley Construction at 17209155352 to get a pre-project checklist that prevents these errors and keeps your renovation on track. Proactive planning and expert oversight deliver the outcome you expect.
Introduction: Why preventing mistakes matters
Renovations are exciting because they transform a space, but they can also be the source of unexpected cost overruns, delays, and frustration. Learning the common renovation mistakes to avoid early on is the single most effective step a homeowner can take to protect both budget and timeline. With clear decisions before work starts, you reduce the guesswork, minimize rework, and retain control over outcomes the whole way through.
This guide draws on real projects handled by Riley Riley Construction, blending practical checklists, decision-making frameworks, and on-the-job lessons to help you steer clear of problems that most homeowners encounter. Whether you are planning a kitchen overhaul, a bathroom update, or a whole-house refresh, the same underlying issues tend to appear: unclear scope, weak contractor selection, and material choices that don't match expectations. Address those three early and many other problems simply fall away.
Start strong with scope definition and realistic planning
 One of the most frequent pitfalls is scope creep: projects grow while the clock keeps running and budgets get stretched. Avoid this by writing a clear scope of work that describes what is and isn't included-room by room, trade by trade. A solid scope becomes the reference document when questions arise and a tangible way to measure whether change orders are necessary. It also gives contractors the information they need to provide accurate bids and timelines.
Good planning also includes setting realistic expectations. Take time to decide finish levels, fixture brands, and tolerances for changes. When owners delay decisions or keep changing selections, the schedule derails and costs climb. Lock in major selections-cabinet style, countertop material, tile and plumbing fixtures-early enough that long-lead items can be ordered and delivered without causing work stoppages.
Finally, factor building unknowns into your plan. Older homes commonly reveal hidden issues-rot, mold, outdated wiring, or framing problems-that must be fixed before finishes go in. Budget a contingency of at least 10%-20% depending on project complexity and age of the property, and make discovery protocols part of your scope so everyone understands how hidden work will be handled and priced.
Hire the right professionals: contractor vetting that prevents failure
Poor contractor vetting is responsible for a long list of renovation disasters. A low bid may look attractive but can be a red flag if it omits key items or assumes owner-supplied materials that later cause delays. A thorough vetting process includes verifying licenses and insurance, checking references and recent job sites, confirming a consistent work crew, and reviewing portfolios of completed projects that match your style and scale.
Steps to verify a contractor
- Request proof of license and current insurance certificates (liability and worker's comp).
- Ask for references and visit at least two recently completed projects if possible.
- Check online reviews and local business bureau records-look for patterns not one-off complaints.
- Confirm the project manager assigned will be present on site and not subcontracted oversight.
Red flags to watch for include vague or verbal-only estimates, reluctance to provide a written schedule, or pressure to sign immediately. Good contractors welcome detailed questions because it shows you are looking for a responsible partner rather than the cheapest price. When an estimator walks a scope line-by-line with you and documents allowances and exclusions, it's an early sign of a professional approach that reduces surprises.
Make material selections that align with use, budget, and aesthetics
Material mismatches are another common renovation mistake to avoid: selecting a high-gloss finish for a high-traffic entry, choosing a porous stone for an unsealed bathroom floor, or ordering uncommon tile sizes without confirming installation feasibility. Those choices create functional problems, extra maintenance, or expensive substitutions mid-project. Match materials to the room's use, lighting, and maintenance profile to prevent these issues.
Bring samples home and view them in the actual rooms at different times of day; photographs rarely capture how a finish will read under your light. Use mock-ups for critical areas-install a full-height cabinet eye-level sample or lay out a square of flooring to confirm color, grout choices, and edge details. Mock-ups reduce second-guessing and provide a shared reference between you and your contractor.
Typical cost ranges and lead-time considerations
| Item | Typical cost range | Common lead time |
|---|---|---|
| Ceramic tile | $2-$15 per sq ft | 1-4 weeks |
| Engineered hardwood | $5-$12 per sq ft | 2-6 weeks |
| Quartz countertop | $40-$100 per sq ft | 2-8 weeks |
| Cabinetry (custom) | $500-$1,200 per linear ft | 6-12 weeks |
Note that long-lead items-custom cabinets, specialty tiles, and certain appliances-should be ordered early in the schedule to avoid extended delays. If a material is discontinued mid-project, having alternatives pre-approved in your contract saves time. Include allowances for commonly changed items, and specify how substitutions will be handled so you are not surprised when a different product arrives.
Budgeting, scheduling, and controlling change orders
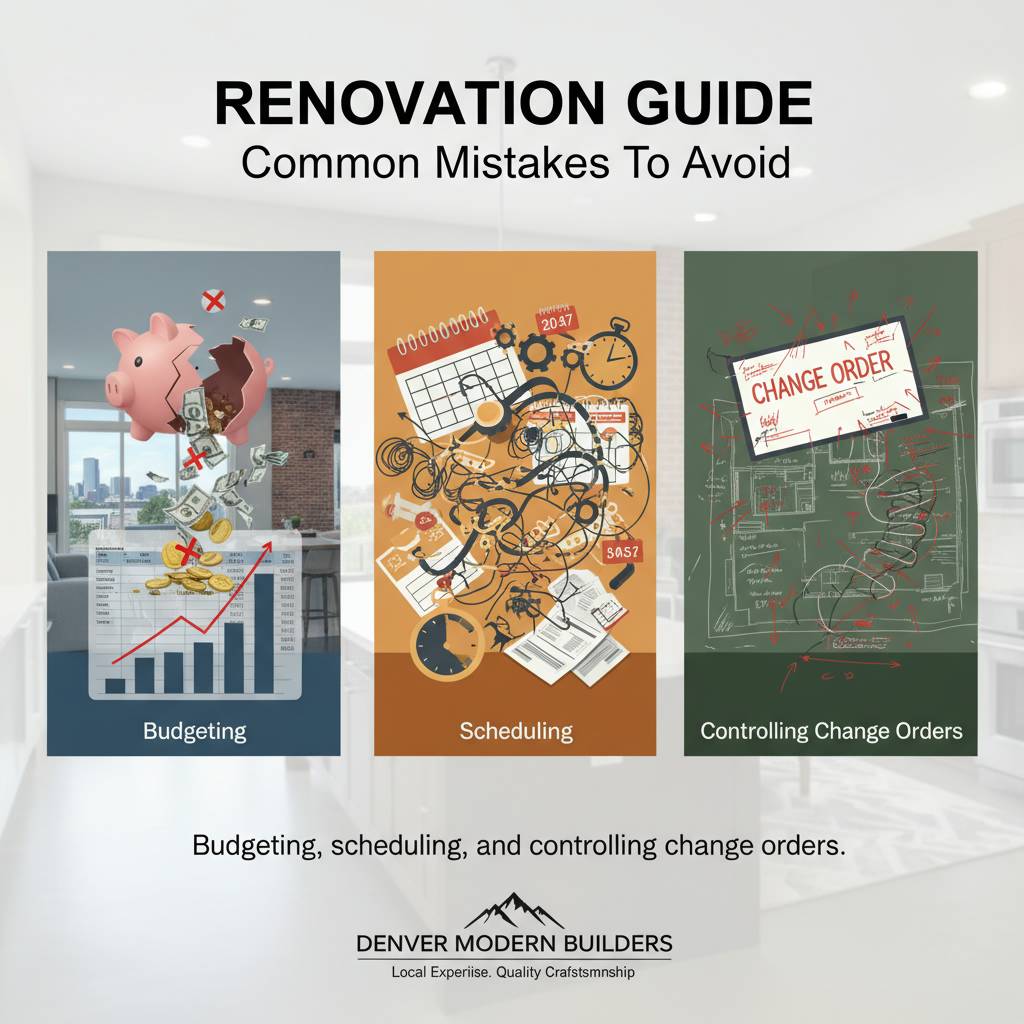 Even with the best planning, change orders happen. The goal is to control them so they do not become a running transaction that eats into your original plan. Require change orders in writing with clear descriptions, pricing, and schedule impact before work begins. If a contractor proposes that a change is small or can be done on the side, insist on a brief written agreement. That simple habit prevents misunderstandings and keeps the project accountable.
Use a shared schedule that shows major milestones-demo, rough-ins, inspections, finishes-and update it weekly. A visible calendar helps you coordinate deliveries, make timely finish selections, and plan for trades that must be present. When selections are delayed, the schedule will immediately show which milestone is at risk and what the downstream cost or time penalty might be.
- Establish a written payment schedule tied to milestones, not arbitrary dates.
- Require lien releases for payments to protect against subcontractor claims.
- Keep an itemized contingency log so any contingency spending is documented and explained.
Regular on-site walkthroughs with the contractor or project manager shorten feedback loops and catch workmanship problems early. Many small defects can be corrected quickly when spotted immediately; if left until the end, they require rework that is more disruptive and expensive. A disciplined punch-list process-created as trades finish their scopes-keeps the final phase organized and efficient.
Common renovation mistakes to avoid: practical examples and remedies
Here are some specific, recurring mistakes and how to prevent them. First, failing to obtain permits can halt a job and trigger fines or rework. Always confirm which permits the project needs and ensure inspections are scheduled. Second, underestimating site logistics-parking, staging, and storage-creates daily friction and delays. Plan for a staging area and communicate parking and access rules in advance.
Third, ignoring wall, floor, and ceiling tolerances leads to headaches when installing cabinets and countertops. Have trades measure critical dimensions after demolition to confirm fabrication measurements. Fourth, choosing finishes before you confirm electrical and plumbing locations can force rework. Make final fixture and outlet decisions early enough to be reflected in rough-in plans so everything lines up cleanly.
When problems do arise, follow a structured approach: document the issue, notify the contractor in writing, propose a reasonable resolution or ask for their recommended corrections, and agree on timing. Creating a simple three-column log-issue, proposed fix, agreed date-keeps accountability clear and preserves a record should disputes escalate.
Real project snapshots: how prevention saved time and money
Case study 1: A mid-century kitchen renovation discovered rotted subflooring during demo. Because the owner had budgeted a 15% contingency and included a discovery protocol in the scope, the team made structural repairs immediately and ordered a longer-lead countertop during the additional time. The project finished within the extended schedule and without surprise financing because the contingency plan was used as intended.
Case study 2: A bathroom update stalled when the homeowner chose an imported tile that had a four-week delay and then a color variance on delivery. The contractor maintained a clear allowance system and proposed an acceptable substitute that matched the design intent and shipped in two weeks. Because the owner had a mock-up and permitted selected alternates in writing, the substitution avoided a month of lost time.
These examples underline the power of a formalized approach: anticipate unknowns, document decisions, and include contingency strategies in your contract. Prevention is often cheaper and less stressful than fixing an avoidable mistake later in the timeline.
Pre-project checklist and final recommendations
Below is a concise checklist you can use at the outset of any renovation to reduce the chance you'll face common renovation mistakes to avoid. This list is what Riley Riley Construction typically shares with homeowners during initial consultations to ensure projects start aligned and stay on track.
- Write a detailed scope of work and confirm included trades and exclusions.
- Obtain all required permits and schedule inspections as part of the timeline.
- Vet contractors: licenses, insurance, references, and recent job visits.
- Lock in major material selections with mock-ups for critical finishes.
- Order long-lead items early and require written change-order procedures.
- Set aside a contingency of 10%-20% based on project complexity and home age.
- Agree on a milestone-based payment schedule and request lien releases.
- Maintain weekly schedule updates and on-site walkthroughs with the project manager.
Following these items does not guarantee a renovation will be effortless, but it dramatically reduces the frequency and severity of common problems. A pre-project checklist is an investment in clarity; it saves both money and time by preventing the recurring errors that stall most remodels.
Next steps and how to get help
If you're planning a renovation, a short conversation with an experienced contractor can immediately reduce risk. Riley Riley Construction offers a pre-project checklist and a guided review to help you identify the three biggest risk areas for your specific home. That review typically clarifies scope, highlights any long-lead items, and outlines a realistic contingency plan so you can make informed decisions before demolition.
When you want a partner who will prioritize prevention as much as execution, call Riley Riley Construction at 17209155352. Even if you are early in the idea stage, a short planning consultation will help you avoid the most common renovation mistakes to avoid and outline the logical next steps for a smoother renovation experience.
Contact Riley Riley Construction today at 17209155352 to request your pre-project checklist and schedule a planning consultation.
We look forward to helping you plan a renovation that stays on budget, meets your timeline, and produces the durable, beautiful outcome you expect.